
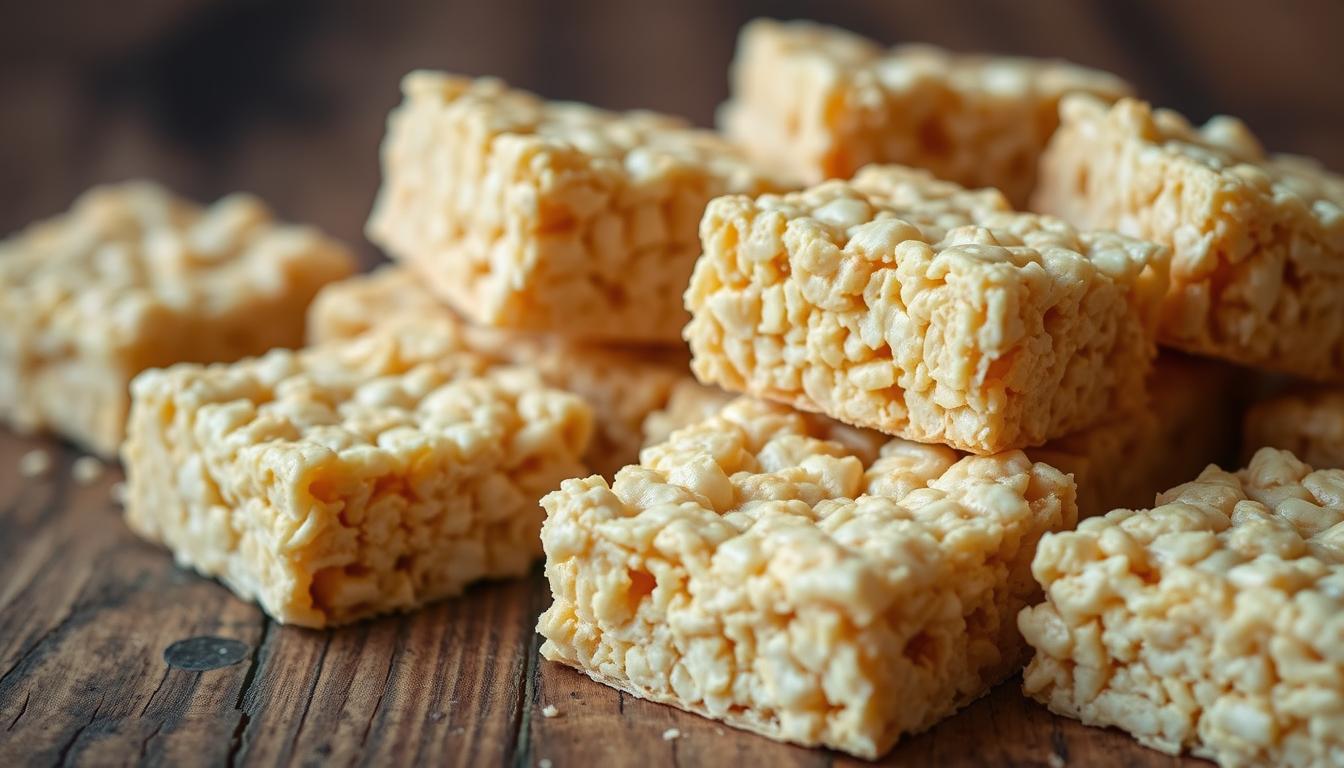
Remember the gooey, buttery magic of mixing marshmallows and cereal as a kid? Now you can recreate that joy with this easy rice krispies treats recipe. Whether you’re making squares for a school event or a cozy night in, this guide ensures every batch turns out soft, sweet, and perfectly chewy. No more burnt edges or crumbly messes—just foolproof steps and tips from tested methods.
Key Takeaways
- Melt butter until golden for rich flavor.
- Customize with peanut butter, chocolate, or sprinkles.
- Use parchment paper for easy cleanup.
- Store in an airtight container for up to 5 days.
- Freeze extras for long-term storage.
Table of Contents
Introduction to Delicious Rice Krispies Treats
These classic easy rice krispie treats have been a staple in kitchens for generations. Their simplicity and charm make them a timeless treat perfect for any occasion. Let’s explore how they became a household favorite and why you’ll want to bake them today.
A Brief History of the Treats
First created in the 1930s by Kellogg’s, the original recipe used just three ingredients: marshmallows, cereal, and butter. Over time, these treats evolved into a cultural icon, featured in holiday traditions and school bake sales. Their adaptability allowed creative twists like seasonal flavors and mix-ins, keeping them relevant for decades.
Why You’ll Love Making Them
Chef-approved tips make easy rice krispie treats a breeze to prepare. Here’s why they’re a hit:
- Quick prep: Ready in under 30 minutes with pantry staples.
- Customizable: Add sprinkles, chocolate chips, or nuts for personal flair.
- Family-friendly: Kids love helping mix and shape the dough.
Whether shaped into triangles or heart forms, these treats are a canvas for creativity. Perfect for holidays or casual gatherings, they balance nostalgia with endless possibilities.
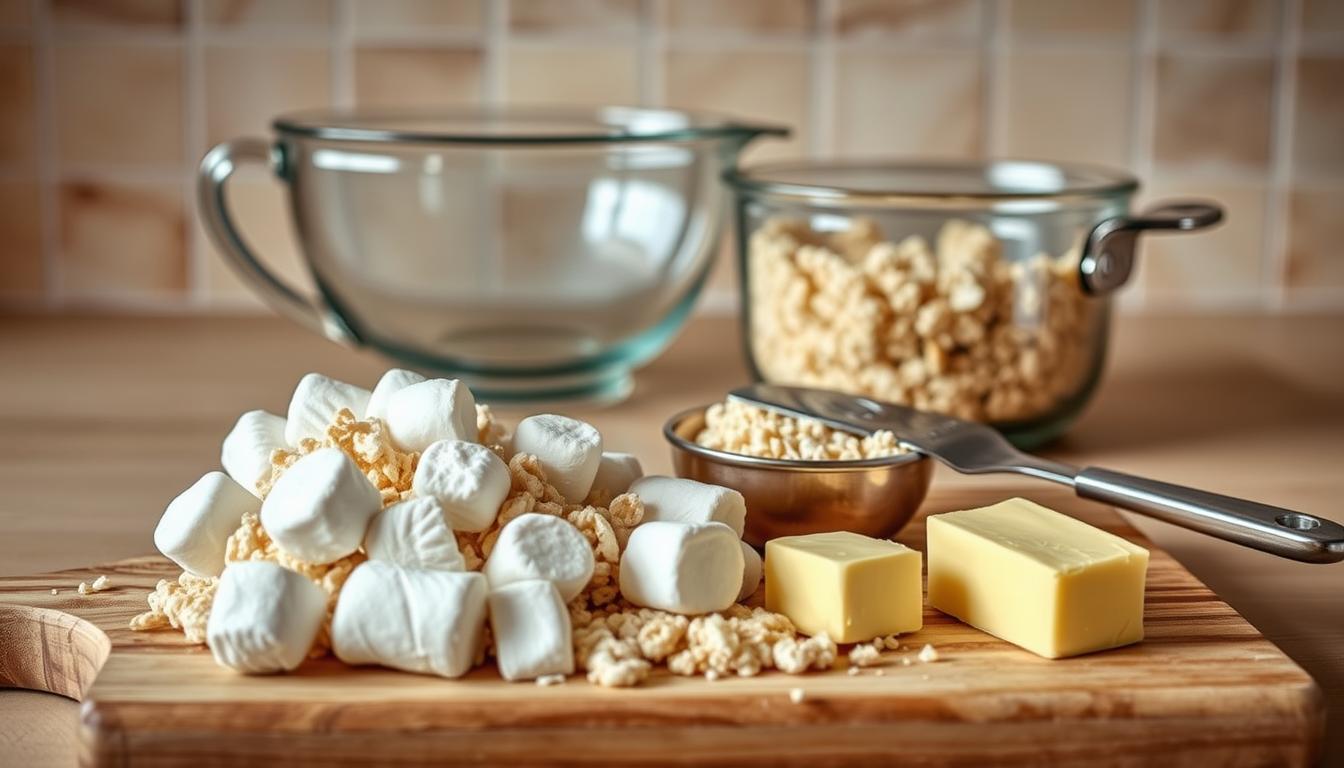
Gathering Your Ingredients & Tools
Before mixing your first batch of homemade rice krispie treats, gather everything you need. Quality ingredients and the right tools make all the difference in texture and taste.
- 1.5 sticks (12 tbsp) real butter (European butter adds richer flavor)
- 16 cups mini marshmallows (avoid stale marshmallows for proper melting)
- 12 cups Rice Krispies cereal (check gluten-free options like Post Gluten-Free Rice Krispies)
- ¼ tsp salt for balancing sweetness
- Optional mix-ins: chocolate chips, M&M’s, or dried fruit
- Microwave-safe bowl large enough for marshmallow melting
- 9×13-inch Pyrex baking dish (non-stick or lined with parchment paper)
- LARGE stockpot for stove-top melting (if avoiding the microwave)
- Silicone spatula and rubber scraper for mixing
- Measuring cups/spoons for precise ratios
Use unsalted butter to control salt levels—add salt separately if using salted butter. For gluten-free versions, verify cereal and marshmallow ingredients. Pro tip: Non-stick spray prevents sticking better than butter alone.
Double-check your setup. A Dutch oven’s deep sides work well for stove melting. Prep your workspace by lining the baking dish now to save time later. Proper tools ensure even mixing and smooth spreading for perfect squares.
Step-by-Step Preparation Process
Perfecting the best rice krispie treats starts with precise steps. Follow these instructions to achieve a chewy texture and golden marshmallow consistency every time.
Melting Marshmallows to Golden Perfection
Microwave methods prevent overheating and ensure even melting. Avoid burning with these steps:
- Line a microwave-safe bowl with a plate or lid to catch splatters.
- Combine ½ cup butter and 10 cups mini marshmallows. Microwave in 30-second bursts, stirring between each, until fully melted and glossy.
- Stir in 1 tsp vanilla and ½ tsp salt to taste.
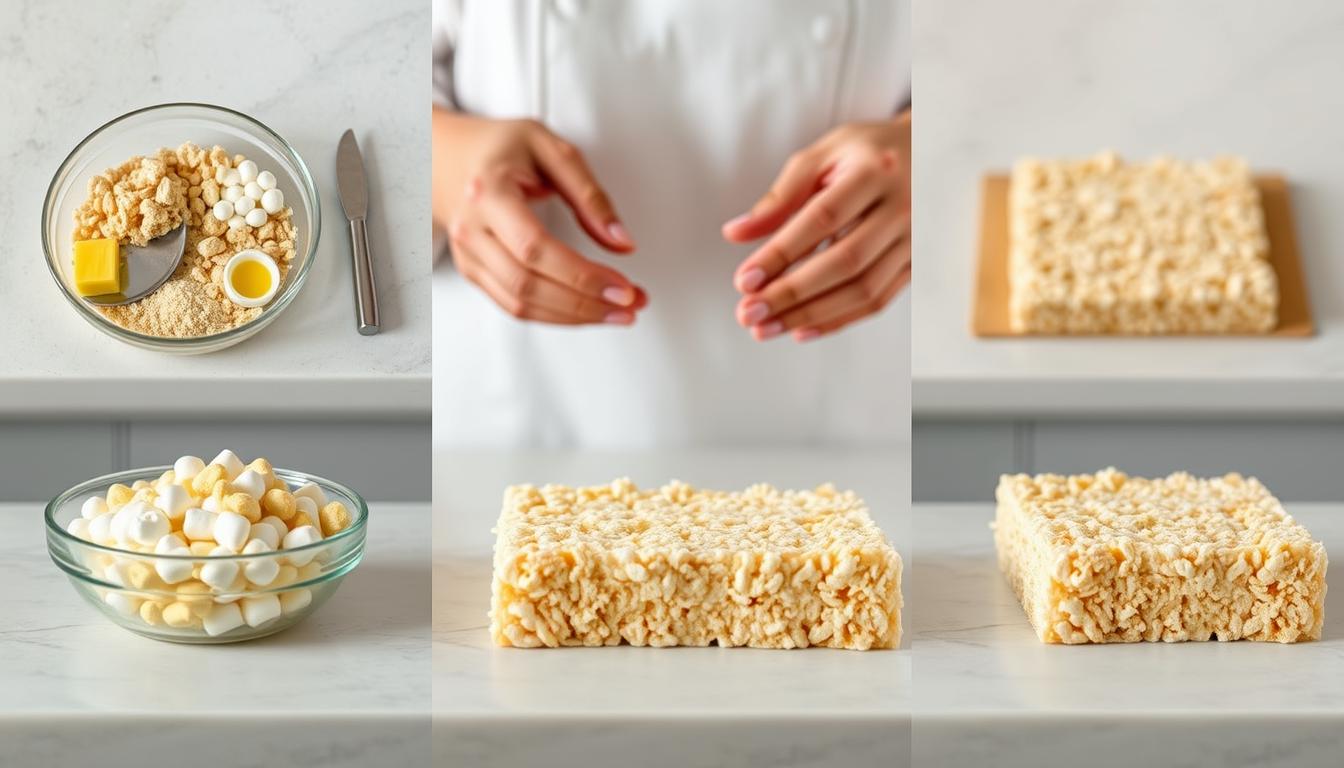
Mixing Rice Krispies and Flavors Carefully
Work quickly to blend ingredients before the mixture cools. Use these steps for even distribution:
- Add 15 cups Rice Krispies cereal to the melted mixture, folding gently until fully coated.
- Stir in optional mix-ins like chocolate chips or sprinkles, but avoid overmixing to keep treats light.
- Transfer to a greased and lined pan, pressing firmly with a greased spatula.
| Common Mistake | Fix |
|---|---|
| Overmixing | Stir until just combined |
| Under-melting | Check for glossy, smooth mixture |
Mastering the rice krispies treats recipe: Tips for Success
Perfecting classic rice krispie treats starts with avoiding common pitfalls. Let’s explore how to troubleshoot and balance ingredients for consistent results.
Troubleshooting Common Issues
- Overcooked marshmallows: Microwave butter and marshmallows in 30-second bursts, stirring often. Burnt sugar creates gritty textures.
- Crumbly mixture: Ensure cereal absorbs melted mixture fully. Stir until every piece is coated—no dry spots!
- Sticky hands: Dip fingers in cornstarch before handling the dough to prevent sticking.
Balancing Ingredients for Consistency
Follow this classic rice krispie treats formula precisely:
| Ingredient | Measurement |
|---|---|
| Unsalted butter | 8 tbsp (113g) |
| Mini marshmallows | 10 cups (387g melted + 43g folded in) |
| Crispy rice cereal | 7 cups (196g) |
| Vanilla extract | 2 tsp (King Arthur brand) |
Use Malt-o-Meal cereal for gluten-free versions. For richer flavor, toast butter until nutty (Maillard reaction) before melting marshmallows. Add Orson Gygi cinnamon chips during mixing for texture contrast.
“Always measure cereal by spooning into cups—don’t pack it. This prevents sogginess.” – Culinary expert tip
Grease pans with butter or parchment for easy release. Overmixing leads to toughness—stop once ingredients just combine. Stored airtight, treats stay fresh up to 3 days. Freeze for longer storage.
Creative Twists for Easy Rice Krispie Treats
Take your treats to the next level with inventive twists that highlight texture and flavor. Start with peanut butter rice krispie treats, a fan favorite that adds a nutty crunch. Stir in a cup of peanut butter while mixing the melted marshmallows for a creamy base. The result? A treat that’s buttery and sweet, perfect for snacking or parties.
Peanut Butter Rice Krispie Treats
- Mix 1/2 cup creamy peanut butter into melted marshmallows before adding cereal.
- Top with crushed peanuts or Reese’s Pieces for extra texture.
- Pair with banana slices or apple wedges for a handheld dessert option.
Marshmallow Rice Krispie Treats
For extra marshmallow layers, double the marshmallow quantity or add mini marshmallows on top before baking. Try these upgrades:
- Drizzle with white chocolate or caramel sauce post-cooking.
- Embed M&M’s or chocolate chips into the mixture before pressing.
- Shape into balls or squares for easy sharing at gatherings.
“The key to creative treats is balancing flavors without overwhelming the classic crunch,” says culinary expert Sarah Lee.
Experiment further by substituting Cocoa Krispies for a chocolate base or Teddy Grahams for a crisper texture. Add vanilla extract for depth or try holiday-themed shapes with cookie cutters. Whether you’re making peanut butter rice krispie treats or seasonal versions, these tweaks keep each batch fresh and exciting.
Healthy Alternatives and Dietary Adjustments
Transform classic marshmallow rice krispie treats into nutrient-friendly options without sacrificing flavor. Whether gluten-free, vegan, or low-sugar, these tweaks keep your treats indulgent yet better for you.
- Gluten-free: Swap regular cereal for Nature’s Path Crispy Rice or One° Brown Rice Crisp. Pair with dairy-free coconut oil and vegan marshmallows.
- Low-sugar: Cut sugar by 50% or substitute with mashed banana or dates. Use dark chocolate chips for natural sweetness.
- High-protein: Mix in 1 scoop chocolate protein powder (31g) with Magic Spoon cereal. Each bar has 98 kcal and 3g protein.
- Vegan: Replace butter with coconut oil and choose vegan marshmallows. Add chia seeds for fiber.
“Focus on fiber and protein to keep treats filling,” says nutritionist Sarah Lee. “Swap refined sugars for maple syrup and opt for whole-grain cereals.”
Try a 3-ingredient version with peanut butter, maple syrup, and crispy cereal. Each serving stays under 100 calories. Store leftovers in the fridge for 2 weeks or freeze for 6 months. For keto diets, use erythritol sweetener and almond flour. Every adjustment keeps treats moist and familiar—no compromise on texture.
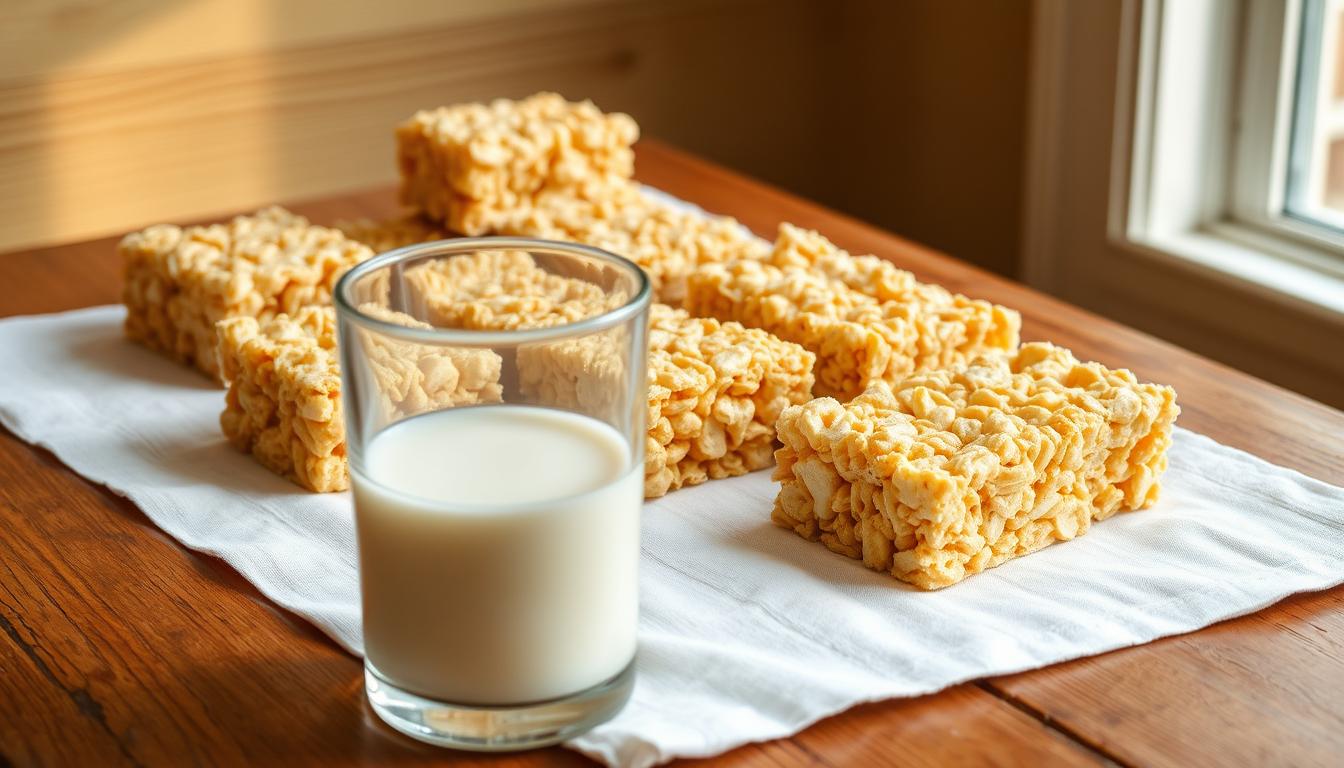
Presentation & Serving Suggestions
Elevate your no bake rice krispie treats with presentation ideas that match any occasion. Whether you’re hosting a party or sharing a quick snack, these tips ensure your treats shine as much as they taste great.
Portioning Tips for Parties and Gatherings
Choose the right pan size for your crowd:
- Use a 9×9-inch dish for thick, gooey squares at intimate gatherings.
- Opt for a 9×13-inch pan to serve thinner treats when feeding larger groups.
- Add 2 cups of whole marshmallows before mixing for extra texture in each bite.
Styling Your Treats for the Perfect Look
Transform your no bake rice krispie treats into a visual treat:
- Customize with Fruity Pebbles or Cocoa Puffs for colorful cereal layers.
- Drizzle with melted chocolate or white chocolate for a gourmet touch.
- Add sprinkles or M&M’s before the mixture sets for festive sparkle.
- Serve in mini ice cream cones or paper cups with wooden sticks for handheld fun.
Line pans with parchment paper to easily remove and portion treats neatly. A salty crunch from crushed pretzels on the crust adds texture contrast. For holidays, match toppings to themes—red and green sprinkles for Christmas or gold flakes for birthdays.
Storing and Enjoying Your Treats Later
Properly storing rice krispie treats with marshmallows ensures they stay fresh and gooey for days. Here’s how to keep them perfect for whenever you’re ready to serve.
“Parchment paper layers are a game-changer for preventing stickiness.”
Best Methods for Keeping Them Fresh
Follow these steps to maintain texture and flavor:
- Store in airtight containers at room temperature for 2–3 days.
- Add parchment or wax paper between layers to avoid sticking.
- Freeze for up to 6 weeks in freezer-safe containers. Label with dates.
| Storage Method | Max Time | Notes |
|---|---|---|
| Room Temp (Airtight) | 2–3 days | Best for fresh texture |
| Refrigerator | Up to 5 days | Wrap tightly; texture may harden slightly |
| Freezer | 6 weeks | Separate layers; thaw at room temp |
Tips for a Quick Reheat
- Reheat in a microwave at 15-second intervals for softness.
- Use a 300°F oven for 5–7 minutes for a warm, melty center.
- For crisp edges, toast at 300°F for 10 minutes.
Never reheat frozen treats directly—thaw first or increase reheating time by 50%.
Troubleshooting & Extra Tips for Perfect Results
Mastering simple rice krispie treats starts with avoiding common mistakes. Here’s how to fix sticky mixtures, uneven textures, or overly sweet batches:
- Use salted butter or add ¼ tsp salt with unsalted butter for balanced flavor.
- Never brown butter—it changes texture. Keep heat at medium-low to prevent marshmallows from toughening.
- Don’t over-pack the mixture into pans; gentle pressing maintains crunch.
- Use SmashMallows organic marshmallows for natural sweetness without artificial additives.
- Pair with pastured grass-fed butter for richer flavor and health benefits.
- Opt for certified organic rice cereal to avoid synthetic residues.
Storage tip: Store treats at room temperature in an airtight container. Avoid refrigeration—it dries them out. For sweeter versions, use up to 9 oz marshmallows, but note it increases sugar content. Use a GreenPan nonstick saucepan to prevent sticking during melting.
Still stuck? Check your microwave intervals. Overheating leads to clumpy mixtures. If your batch is too sticky, gently reheat in 10-second bursts, stirring between intervals.
Conclusion
Your kitchen can now craft Rice Krispie Treats that merge tradition with purpose. Swapping butter for coconut oil cuts prep time to 15 minutes, making 12 servings ideal for gatherings. Adding pink sprinkles turns each batch into a symbol of support for breast cancer awareness, a cause affecting one in eight women each year in the U.S. These treats pair well with crushed Oreos or chocolate chips, balancing indulgence with healthier choices.
Baking these squares isn’t just about flavor—it’s a chance to contribute to a larger cause. Over 220,000 U.S. women are diagnosed annually, and every bite of these gooey squares can spark conversations about early detection. The oven method ensures even melting without stovetop mess, proving quick desserts don’t sacrifice quality. Perfect for school events or charity drives, these treats become more than snacks—they’re statements.
Now you’re ready to turn a childhood favorite into a meaningful act. Whether sharing with loved ones or donating extras to fundraisers, these recipes offer flexibility for any occasion. Their 15-minute preparation and adaptable ingredients make them a win for bakers of all skill levels. Every pan reinforces how simple recipes can connect taste with purpose, leaving kitchens filled with both sweetness and significance.