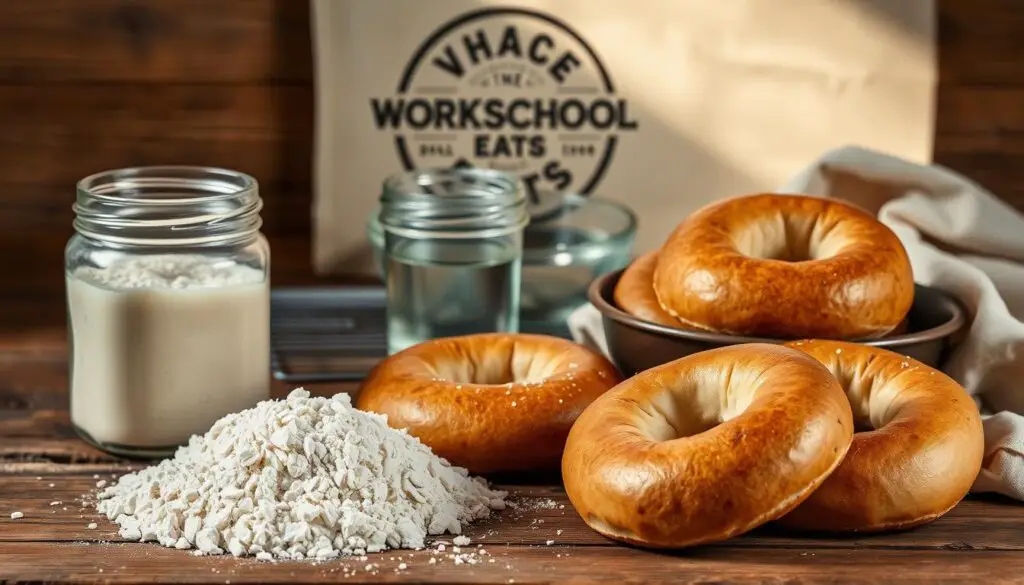
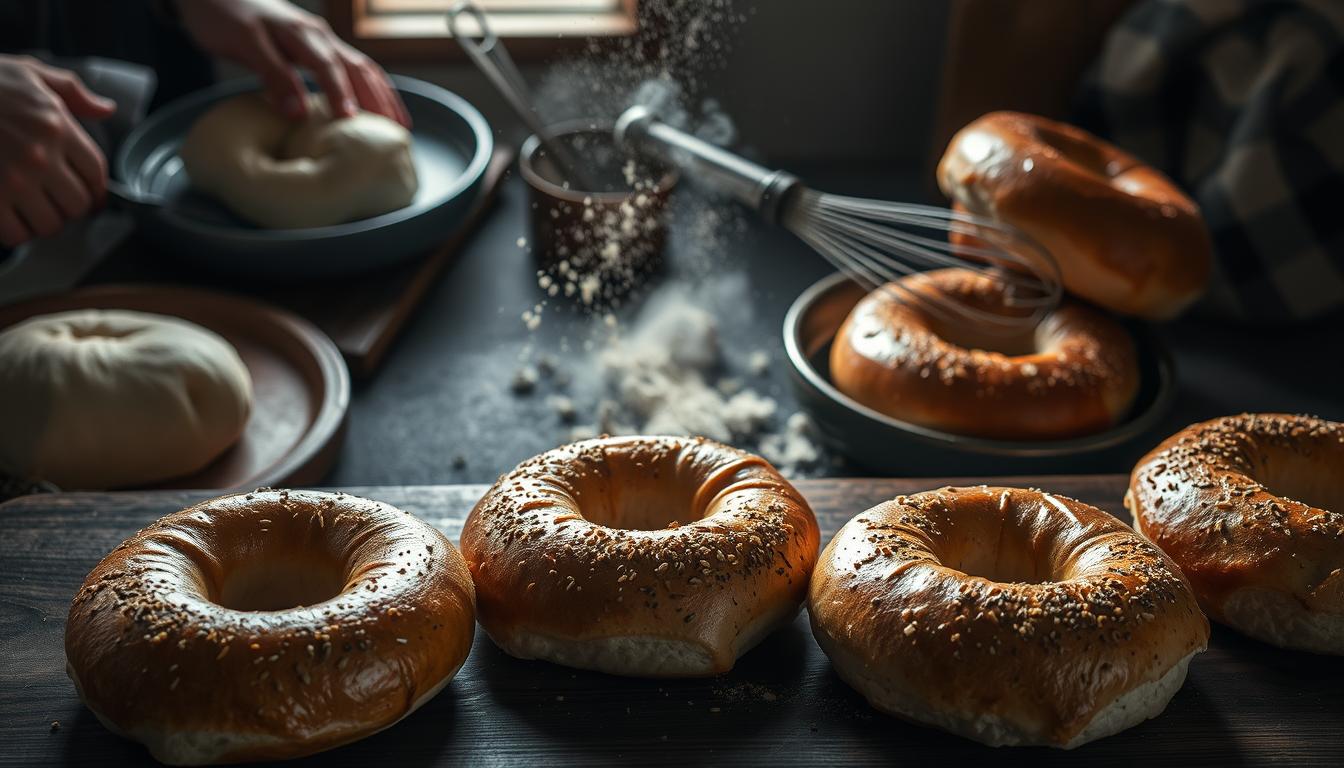
Unlock the secret to bakery-quality sourdough bagel recipe right at home. These homemade bagels deliver a crackling crust and a springy, tangy center, far superior to store-bought options. With this guide, you’ll craft a treat that balances tradition and modern simplicity, turning your kitchen into a sourdough workshop.
Start with just flour, water, salt, and a sourdough starter. The steps—from mixing dough to shaping rings—reveal how fermentation and technique shape texture. Boiling the dough before baking creates that iconic snap, while resting time develops depth of flavor.
Customize your sourdough bagel recipe with toppings like poppy seeds or garlic flakes. Homemade bagels adapt to any preference, whether savory, sweet, or experimental. This method is both a classic and a canvas for creativity, proving that homemade baking is within reach.
Key Takeaways
- The sourdough bagel recipe needs no advanced tools—just time and precision for perfect results.
- Homemade bagels gain complexity from slow fermentation, enhancing their signature sourdough taste.
- Boiling the dough before baking is essential for achieving the classic bagel texture contrast.
- Adjust toppings, flour types, or proofing times to refine your batches over time.
- Making sourdough bagels builds skills transferable to other breads and sourdough projects.
Table of Contents
Getting Started: Embracing Your Sourdough Journey
Your sourdough journey begins with nurturing a sourdough starter. This living culture needs care to thrive. Think of it as a plant—it requires food and time to grow. Start by mixing equal parts flour and water in a jar. Let it sit at room temperature, covered loosely.
- Feed your starter daily with fresh flour and water.
- Watch for bubbles—this shows it’s active and ready to use.
- Discard half before each feeding to keep it manageable.
“A neglected starter is like a forgotten friendship—regular attention builds strength.” — Artisan Baker’s Guide

Patience shapes your sourdough journey. It may take days for your starter to activate. Test its readiness by dropping a spoonful in water—if it floats, it’s ready. This foundational step ensures your future bagels have that signature tang and texture. Every feed is a step toward mastering this ancient craft. Soon, you’ll turn this humble mixture into the foundation of your perfect sourdough bagel.
The Rich History of Bagels and Sourdough Cultural Significance Traditional Techniques
Bagels emerged in 17th-century Poland as simple yet enduring symbols of community. The bagel history reveals how these rings of dough became a staple during lean times, crafted using sourdough’s natural fermentation—a method passed down for generations.
Traditional methods live on in artisanal bagels today. Here’s how history shapes modern baking:
- Boiling dough creates that signature crisp crust.
- Hand-shaping ensures each bagel’s unique texture.
- Sourdough starters, alive for decades, embody cultural continuity.
From New York’s bustling bakeries to family recipes, these techniques reflect resilience. Bagel history isn’t just about bread—it’s a bridge between past and present. Sourdough’s slow fermentation, once a necessity, now defines the depth of flavor in every artisanal loaf and bagel.
Explore these roots, and you’ll see how artisanal bagels preserve traditions. Every step, from mixing to baking, honors centuries of innovation and cultural pride.
Gathering Essential Ingredients for Your Sourdough Bagel Recipe Selecting Quality Flour Choosing Your Sourdough
Every great sourdough bagel starts with the right bagel ingredients. The right quality ingredients ensure a chewy interior and crisp crust. Begin by choosing bread flour like King Arthur’s Artisan Flour for gluten strength. A mature sourdough starter, active and bubbly, is vital—think a 12-hour fermented culture. Don’t forget water, salt, and honey for flavor balance.

- Essential items: 500g bread flour, 100g active sourdough starter, 350ml filtered water, 10g salt, 15g honey
- Tools: Digital scale, bench scraper, pot for boiling
“A sourdough starter’s health is the soul of your bagel.” — Professional Bakers Association
Quality flour creates structure; use a kitchen scale for precise measurements. Honey adds subtle sweetness without overpowering tanginess. For quality ingredients, test your starter by floating it in water—if it floats, it’s ready. Avoid generic all-purpose flour; bread flour’s protein content is key. Optional toppings like Everything Bagel Seasoning or sesame seeds come last, but never skimp on the basics. Each ingredient choice directly impacts texture and taste.
- Optional mix-ins: Everything seasoning, poppy seeds, or garlic flakes
- Tools for shaping: Floured hands or a bagel crimper
Measure everything by weight, not volume, for consistency. A robust starter and proper hydration levels turn ingredients into the foundation of your perfect bagel.
Preparing Your Dough: A Step-by-Step Guide Mixing and Kneading Resting and Fermenting
Start by combining your ingredients in a mixing bowl. Use a stand mixer or your hands to blend flour, water, and sourdough starter until a shaggy dough forms. Let it rest for 30 minutes to hydrate the flour—this step, called the autolyse, strengthens the dough’s structure.
- Hand or mixer kneading: Knead the dough for 8–10 minutes until it becomes smooth and slightly sticky. Focus on developing gluten without overworking.
- Fermentation process begins: Transfer the dough to a greased bowl, cover, and let rise at room temperature for 4–6 hours. Fold the dough every 30 minutes to encourage even fermentation process.
After rising, gently portion dough into 4-ounce pieces. Shape each into a tight ball, then roll into a rope and form a ring. Pinch the ends to seal—this is the bagel shaping phase. Let shaped dough rest for 15–30 minutes to relax the gluten.
Final proofing happens in a lightly oiled container, covered, for 1–2 hours. A doubled dough volume signals readiness. Avoid overproofing—underproofed dough may lack flavor, while overproofed dough can collapse during baking.
Pro tip: For consistent results, maintain a 75–80°F environment during fermentation. Cold slows the fermentation process; heat accelerates it.
Baking Techniques for a Perfect Crisp Crust and Chewy Interior
Once your dough is ready, mastering the final steps transforms your bagels into bakery-quality treats. The right boiling process and baking techniques ensure every batch rises properly and develops a golden crust.
Optimizing the Boiling Process
Start with a simmering water bath to activate the dough’s surface. Here’s how:
- Boil for 1–2 minutes per side in water with honey or malt syrup. This creates a shiny surface and jumpstarts fermentation.
- Use a slotted spoon to gently turn the dough. Overcrowding the pot causes uneven cooking.
“A good boil is the bagel’s armor against sogginess.”
Temperature Control
Perfect results depend on precise heat management:
- Preheat your oven to 450–475°F (230–245°C) with a preheated baking stone or steel for even heat distribution.
- Bake for 15–20 minutes until deeply golden. Avoid opening the oven too soon to maintain consistent heat.
Adjust timing based on your oven’s behavior. A crisp exterior forms best when the boiling and baking stages work together. Test batches refine your technique over time.
Achieving Consistency: Tips and Tricks for Beginners
Mastering the art of consistent bagels starts with small adjustments. Even minor changes in temperature or technique can impact results. These baking tips simplify the process and help you avoid common mistakes.
- Use a kitchen scale for precise flour and water measurements. Exact ratios ensure dough consistency.
- Proof dough in a draft-free area. A stable environment helps yeast activate evenly.
- Shape bagels by hand, pinching seams tightly. Uniform size means even baking times.
| Issue | Solution |
|---|---|
| Bagels stick to the counter | Use less flour; oil hands instead |
| Uneven crust thickness | Boil bagels in batches for equal exposure |
| Dense interiors | Check dough temperature stays between 75–78°F |
Patience is key. Track each step’s timing in a baking journal. Note how long dough rises or how boiling time affects texture. Over time, these notes become your personal consistent bagels formula.
Troubleshooting and Overcoming Common Baking Challenges Preventing Overproofing Managing Dough Consistency Adjusting
Mastering sourdough bagels requires navigating common hurdles like overproofing and inconsistent dough consistency. Here’s how to address these issues head-on:
Preventing Overproofing
Overproofed dough becomes airy and collapses during baking. Follow these steps:
- Test by gently pressing the dough—indentations should stay.
- Reduce proofing time by 15-30 minutes if your kitchen is warm.
- Cover dough with a damp towel to maintain humidity without excess rise.
Managing Dough Consistency
Dough consistency affects texture. Adjust based on these signs:
| Issue | Solution |
|---|---|
| Sticky dough | Add 1-2 tbsp flour gradually. |
| Dry, crumbly dough | Increase hydration with 1 tsp water at a time. |
| Slow rise | Use 80-85°F water when mixing. |
Adjusting During Baking
If your first batch falls short, reassess:
- Check oven temperature with a thermometer.
- Boil bagels in water with 1 tbsp honey for even expansion.
- Chill dough 30 minutes before shaping to firm up overly soft dough.
Innovative Customizations to Enhance Your Recipe Flavor Infusion Ideas Adding Mix-ins Using Alternative Ingredients
Take your sourdough bagels beyond classic options with recipe customization. Explore flavor infusion techniques or creative mix-ins to suit your taste. Every adjustment keeps the signature chewy texture intact while adding new dimensions.
Flavor Infusion Ideas
Infuse flavors directly into the dough:
- Stir in minced garlic or onion powder for savory depth.
- Add lemon or orange zest during mixing for bright citrus notes.
- Experiment with smoked paprika or cumin for a smoky kick.
Adding Mix-ins
Blend these options into dough or sprinkle on top:
| Type | Option | Result |
|---|---|---|
| Savory | Everything Bagel Seasoning | Classic crunch with sesame, poppy, and onion seeds |
| Sweet | Chopped dried cranberries or dark chocolate | Perfect for breakfast or dessert |
| Herbal | Fresh basil or thyme leaves | Earthy undertones |
Using Alternative Ingredients
Swap traditional ingredients for variety:
- Substitute 20% of flour with oat flour for extra chewiness.
- Use honey instead of sugar for natural sweetness.
- Try almond flour for gluten-free recipe customization.
Mastering the Sourdough Bagel Recipe: Advanced Techniques Experimenting with Fermentation Refining Texture and Flavor
Unlock the potential of your sourdough bagels by exploring advanced bagels methods. These fermentation techniques let you control texture and flavor like a pro.
Experimenting with Fermentation Techniques
Adjust fermentation time and temperature to shape your dough’s character. Try these steps:
- Test fermentation durations (8–18 hours) to balance acidity and rise.
- Use a proofing box or fridge to regulate temperature precisely.
- Monitor dough pH levels for optimal sourness.
| Time (hours) | Temp (°F) | Result |
|---|---|---|
| 8 | 70 | Mild tang, soft interior |
| 12 | 65 | Sharp flavor, airy crumb |
| 18+ | 55 | Deep complexity, dense texture |
Refining Texture and Flavor
Perfect your bagels with these precision adjustments:
- Adjust hydration (60–70%) for desired chewiness.
- Use stretch-and-fold methods every 30 minutes during bulk fermentation.
- Blend in seeds or malt syrup for flavor layers.
Mastering these steps turns each batch into a showcase of craftsmanship. Practice small changes to find your ideal balance.
Conclusion
In this sourdough summary, you’ve learned how to craft a sourdough bagel with a crackling crust and a springy interior. From selecting high-quality flour to mastering the boil-and-bake technique, each step builds toward that perfect balance of textures. Remember, patience is key—fermentation times and oven temperatures demand attention, but small adjustments can transform your results.
The bagel conclusion isn’t just about following a recipe. It’s about understanding how ingredients interact and adapting methods to suit your taste. Whether you experiment with seeds, herbs, or whole grains, every tweak offers a new flavor journey. Keep a baking journal to track changes, and don’t fear mistakes—they’re part of the learning curve.
Now that you’ve grasped the fundamentals, let curiosity guide you. Explore different fermentation periods, test alternative flours, or try topping combinations. The skills you’ve honed here apply far beyond bagels, opening doors to sourdough breads and pastries. With practice, your kitchen becomes a lab for innovation, turning dough into something uniquely yours.

